Since we have lived in our house (almost 7 years), we have had some sewer problems. Every 6-18 months our sewer would become backed up and the plumber would come out and unclog it, tell us we should probably get a camera to look at the sewer pipe if it kept happening. The last time it happened back in September we finally found someone with a camera and they took a lovely video (I would post it but it contains our address and I’m not keen on our address being associated with this site, so alas you don’t get to see the lovely inside of our sewer pipe) which showed that the pipe was indeed cracked and also collapsed in one place. So we started planning to have it replaced. The main issue is that the sewer pipe is in the concrete slab in the playroom/downstairs bathroom and runs the entire width of the house, so it was going to be a BIG job.
Since the downstairs bathroom was going to be mostly destroyed during the process we opted to take the time and money to expand it at the same time. We have four girls and two small bathrooms, so this was certainly the time to do it, since I’m sure in the future we will need more bathroom space than we had. To expand the bathroom meant we would loose the in-law suite kitchen, which we didn’t really use except to store miscellaneous kitchen items that we rarely used. We also decided since the plumbing would be getting all redone now was the time to move the washer and dryer upstairs from the basement. So the first step was to remove the in-law kitchen and clean out the playroom (remove the carpet and other flooring below it). Here are some before pictures of the playroom and the in-law kitchen. As you can see they were oh so lovely in their 70s glory.
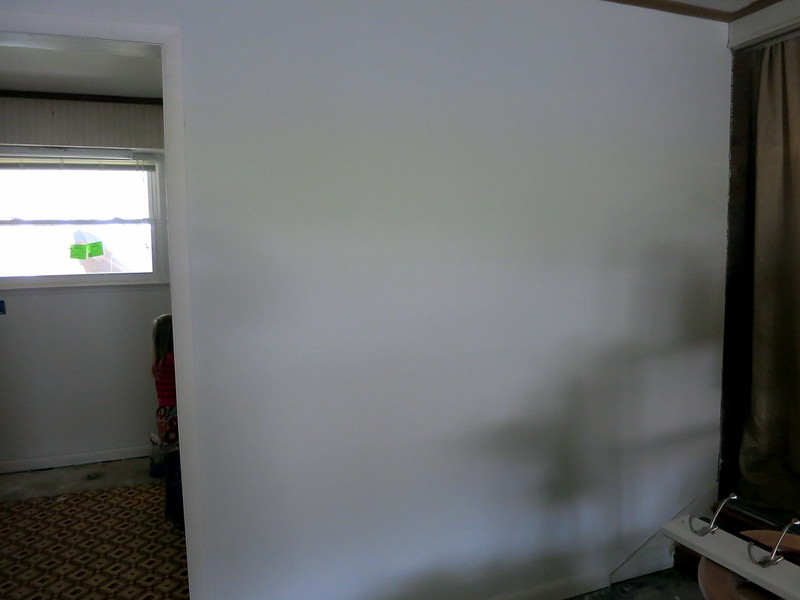
Here is the playroom (minus the carpet) looking toward the main work area. The far left door is the guest bedroom, followed by the entrance to the in-law kitchen and on the right is the bathroom door. 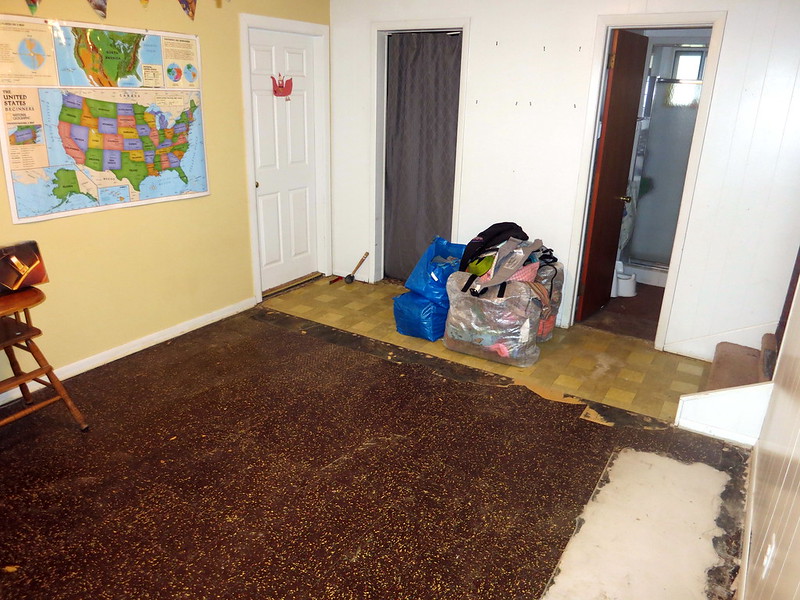
This is the in-law kitchen from it’s entrance doorway. The window remains.
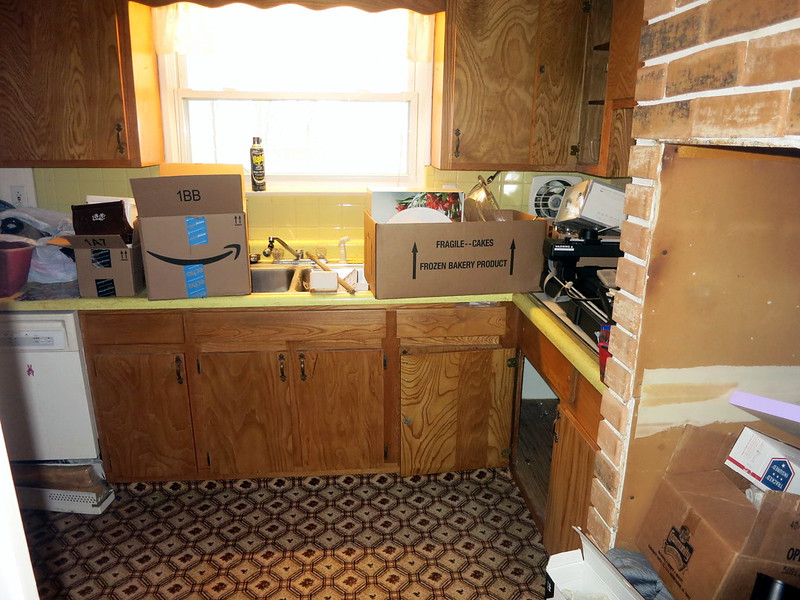
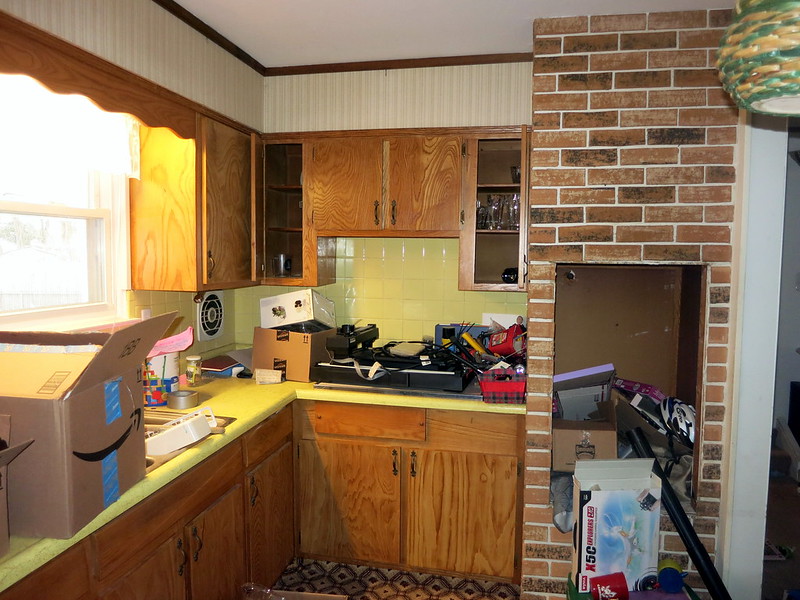
Here is the full in-law kitchen before we removed anything.
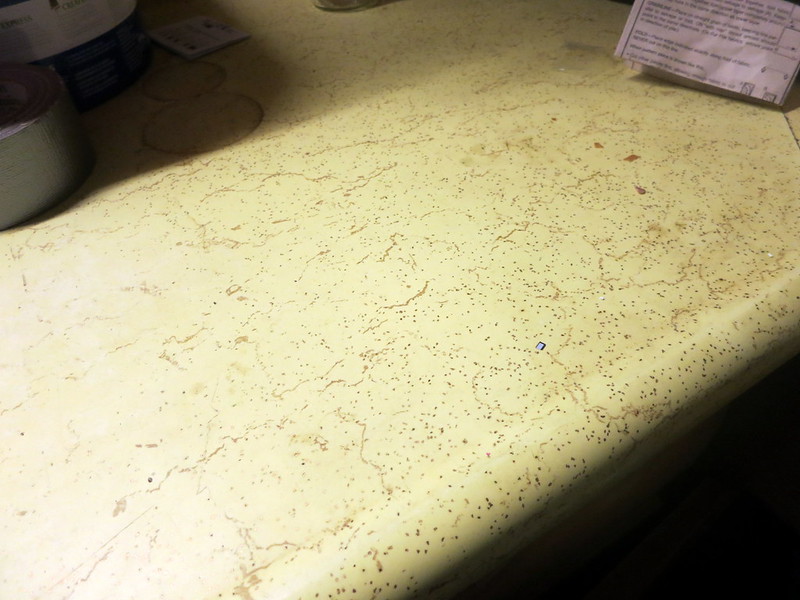
The countertops.
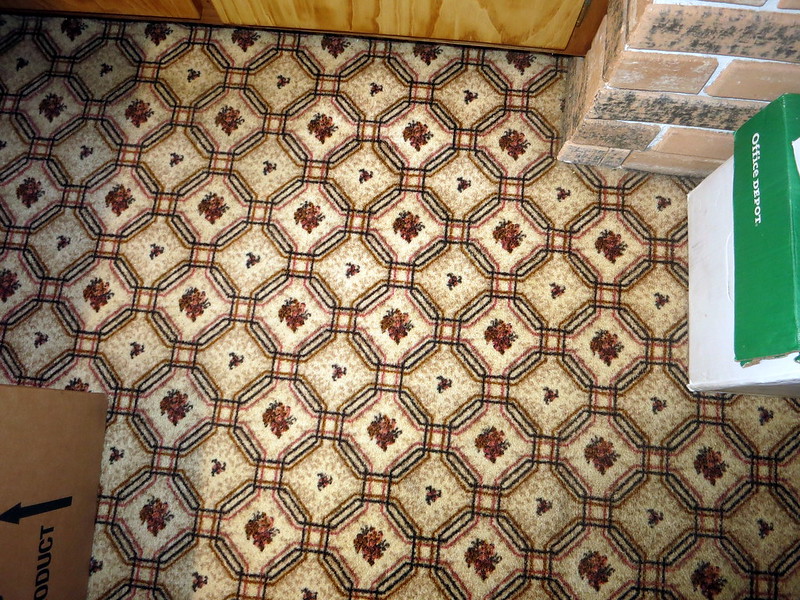
The floors, a lovely indoor-outdoor carpet, because obviously that is a good choice for a kitchen.
And now let’s tour the old bathroom.
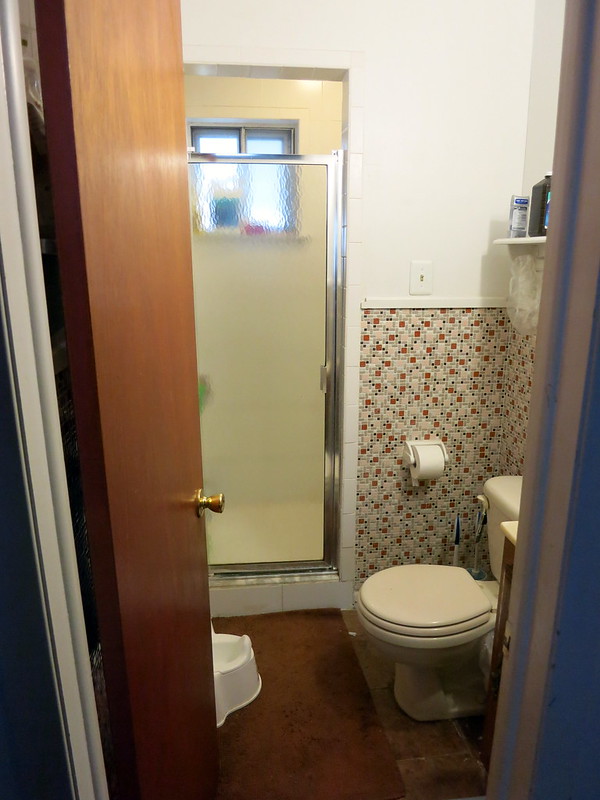
You can pretty much see everything from the doorway. In most houses in our neighborhood this bathroom is just a half bathroom, but ours has a shower added as well, which I am very grateful for, but the whole thing is super tiny and has practically zero storage.
Everyone is totally jealous of this wall tile right?
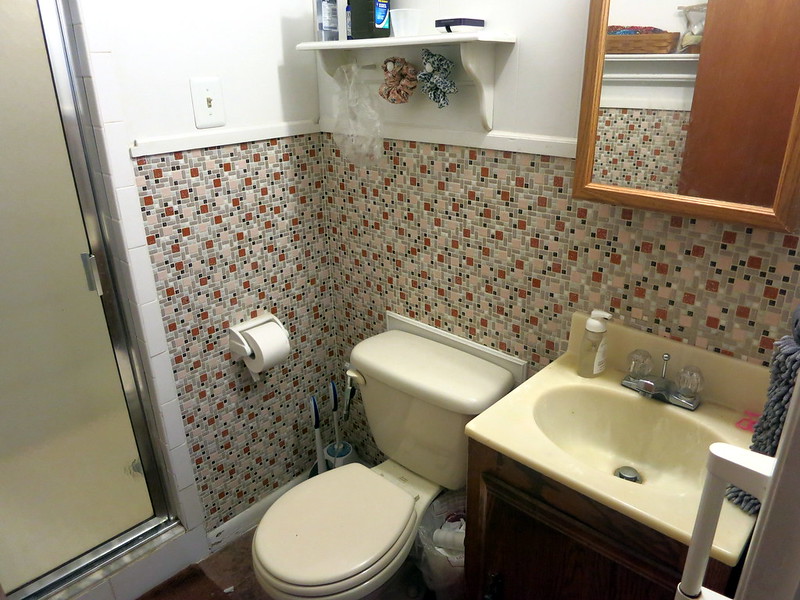
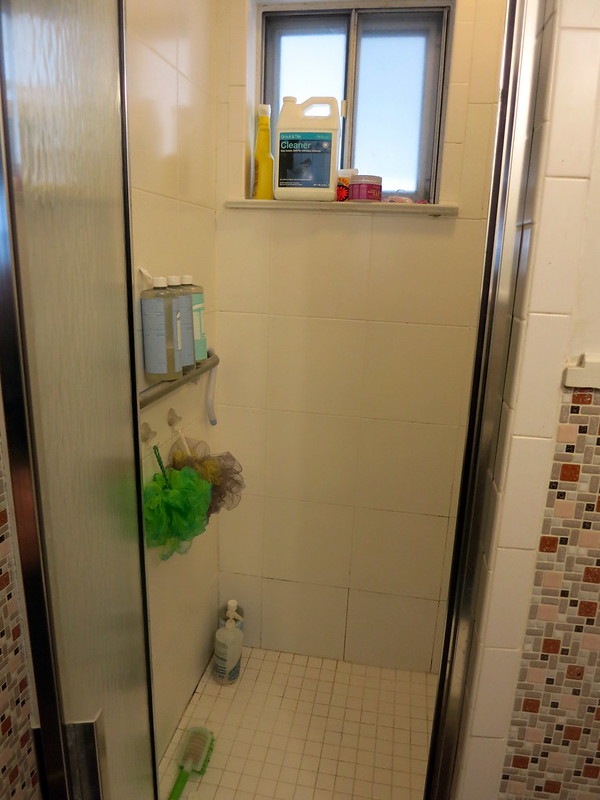
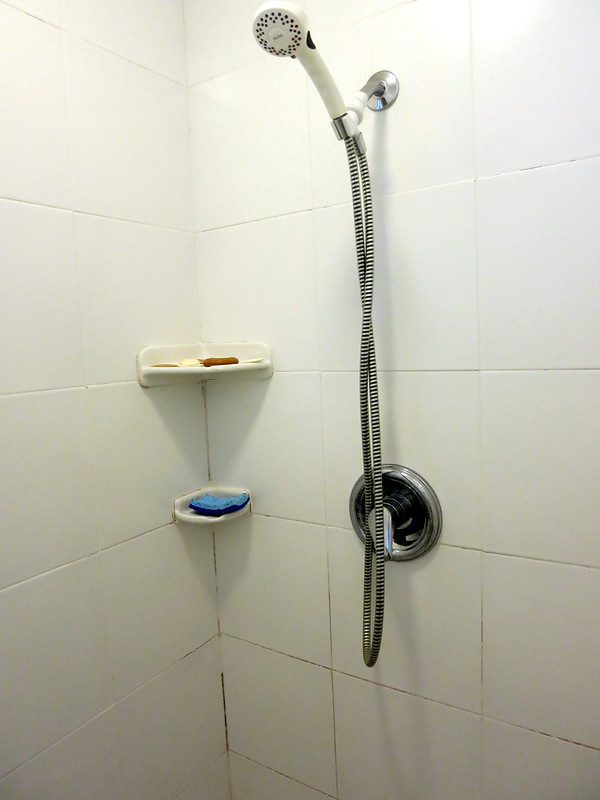
The shower was actually pretty spacious and came very much in handy after coming home the pool, all 4 kids could fit in there.
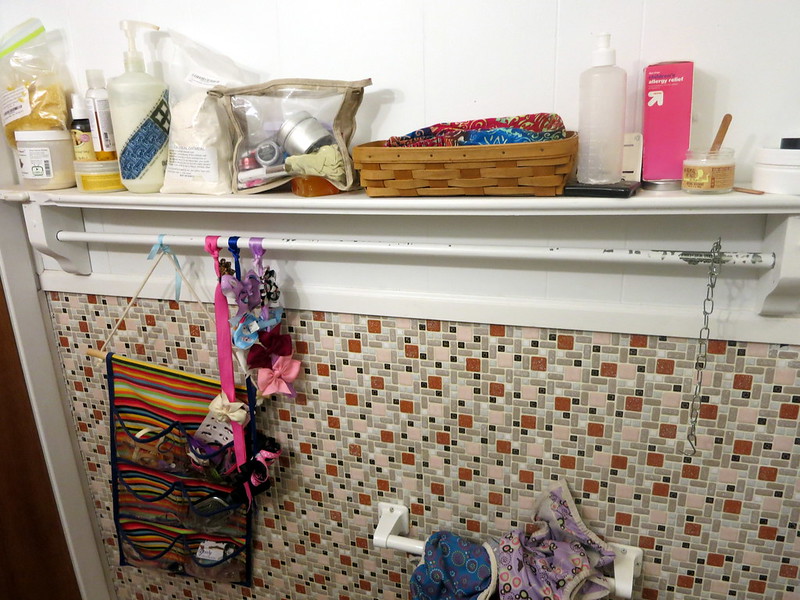
This little shelf is where we stored a great majority of the stuff, hair stuff, lotion, extra shampoo, dirty cloth diapers in a hanging bag, etc.
The vanity stored extra toilet paper and that’s about it.
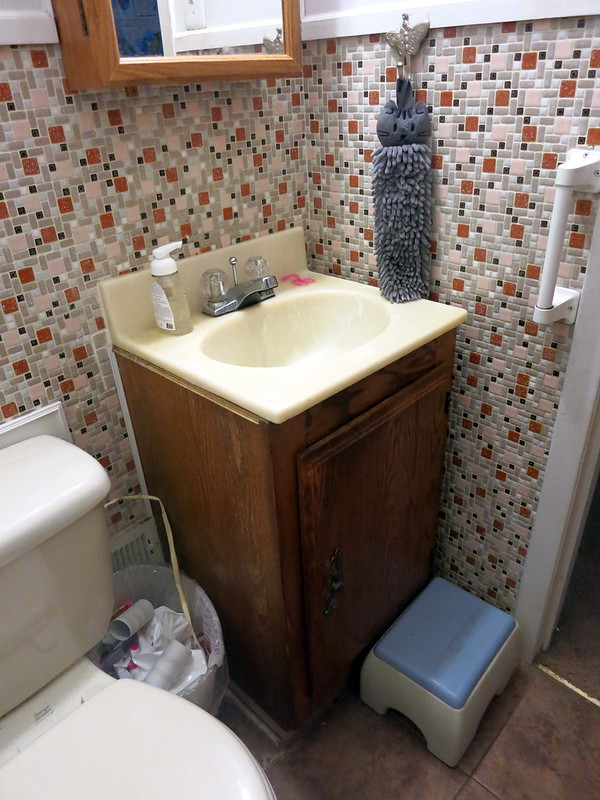
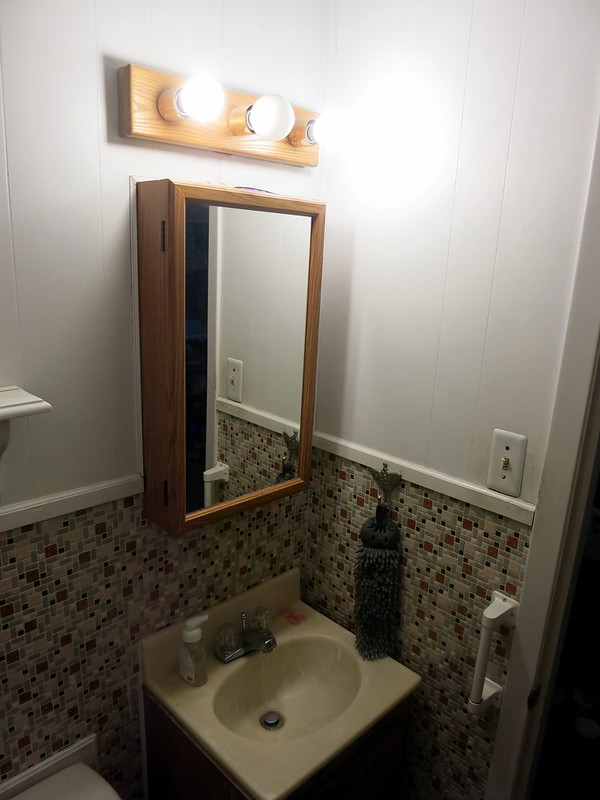
And the lovely medicine cabinet and light.
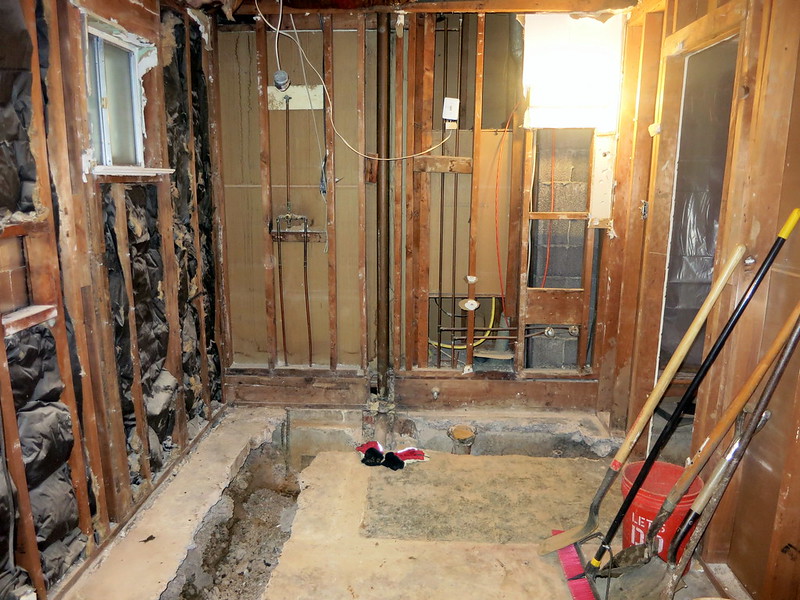
And now it’s time to destroy it! Here is about the worst it was, a huge trench from the front of the house to the back, no walls!

And the bathroom area.
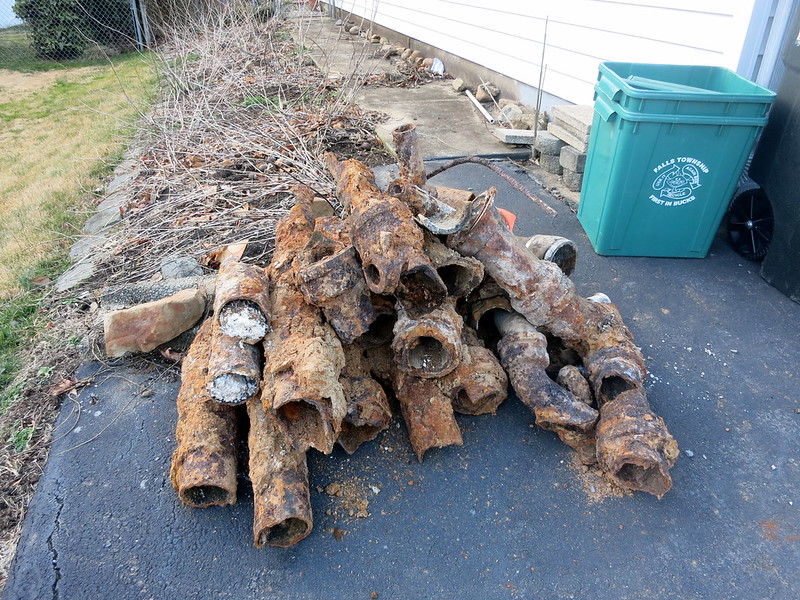
Here is the old sewer pipe, pretty nasty looking. Now we have a beautiful new PVC one.
After more than 2 months, this Tuesday the plumber came and installed the new toilet and other plumbing fixtures. At long last we have two bathrooms again. I will say that I was pretty impressed with how well one bathroom worked for us. I was terrified it would be awful, but we really didn’t have any problems. The bathroom is 95% done. We still need to paint the baseboards and install a toilet paper holder and towel rack, but it’s usable and mostly done. The project continues though, since we still need to replace the carpet in the playroom and set up the new laundry area.
Here is the entrance to the former in-law kitchen (now the laundry room). We closed up the previous bathroom door and moved the entrance to the laundry area.
The door to the bathroom. The washer and dryer will go under the window.
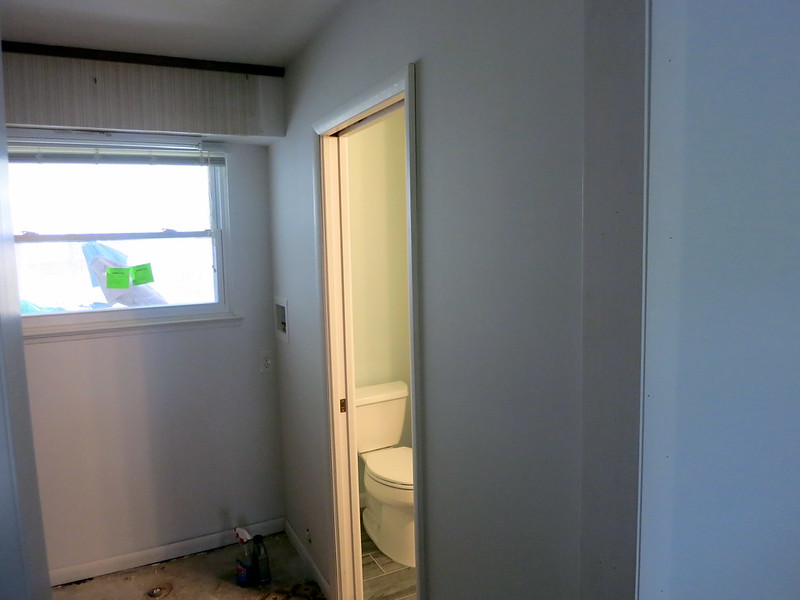
The bathroom has a pocket door to save space and we have oodles of cabinet space now! On the far right is a tall linen cabinet that goes almost to the ceiling.
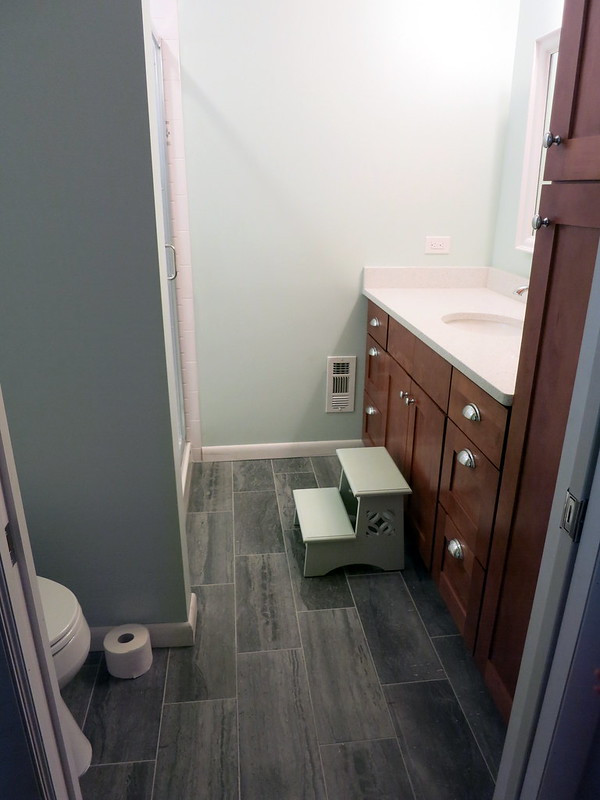
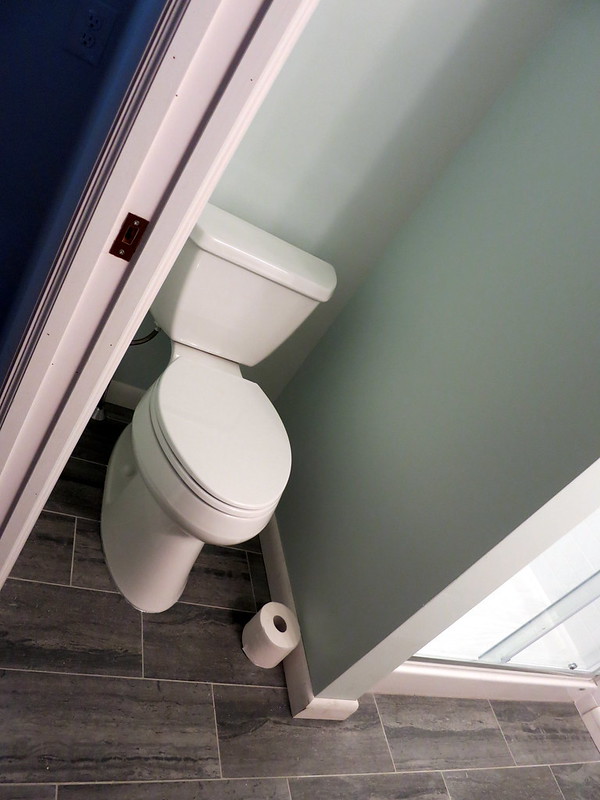
The toilet area is to the left immediately when you come in the door.
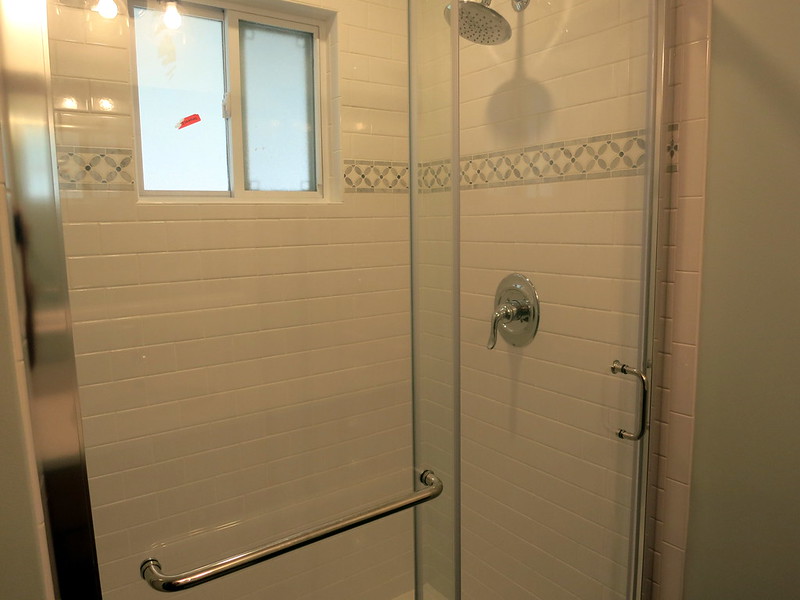
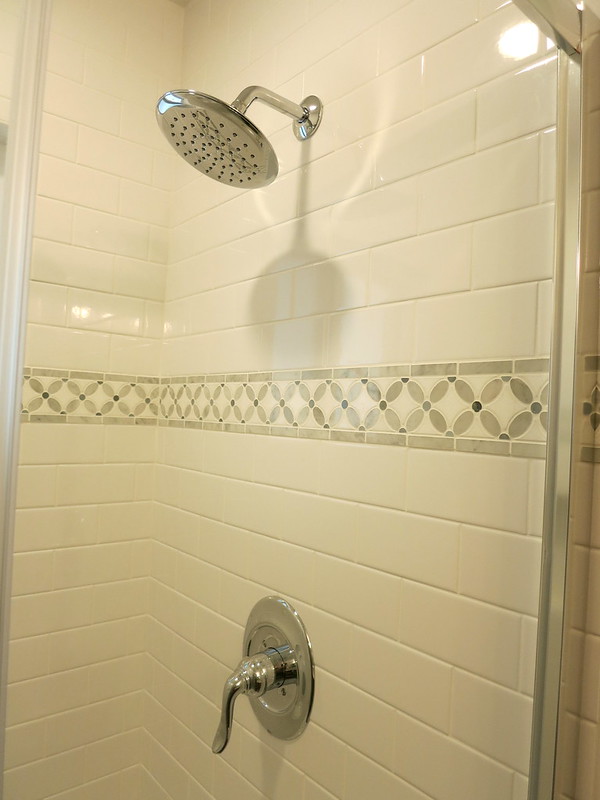
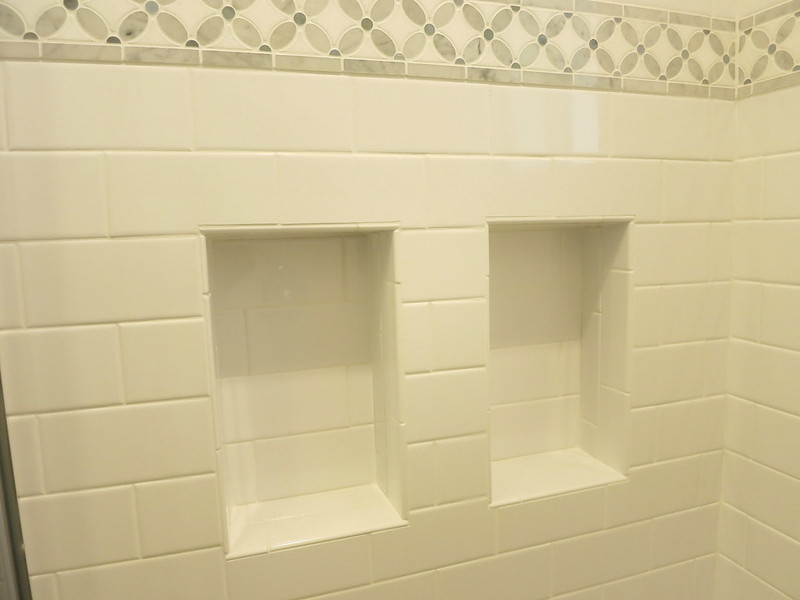
The shower is a little bit smaller than the previous one, but still plenty of room for a few kids. We got a new window and two little cubbies for shampoo/soap/etc.
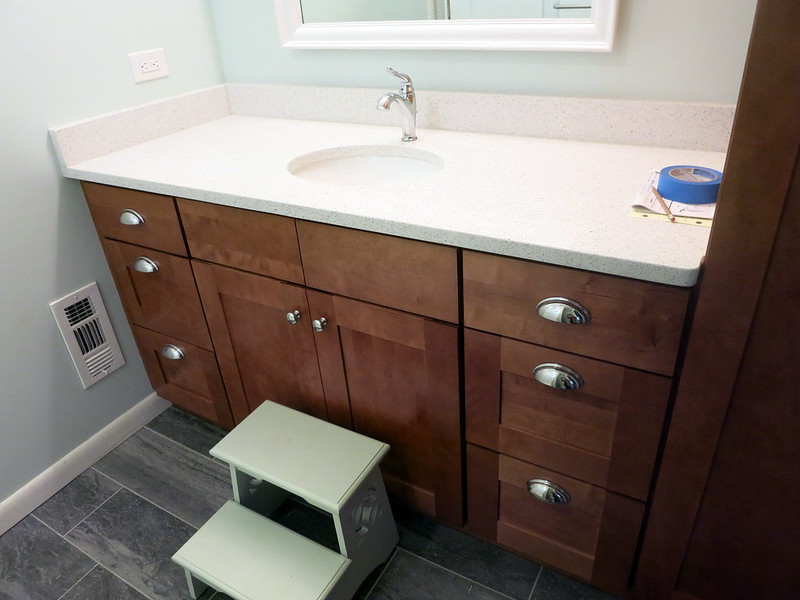
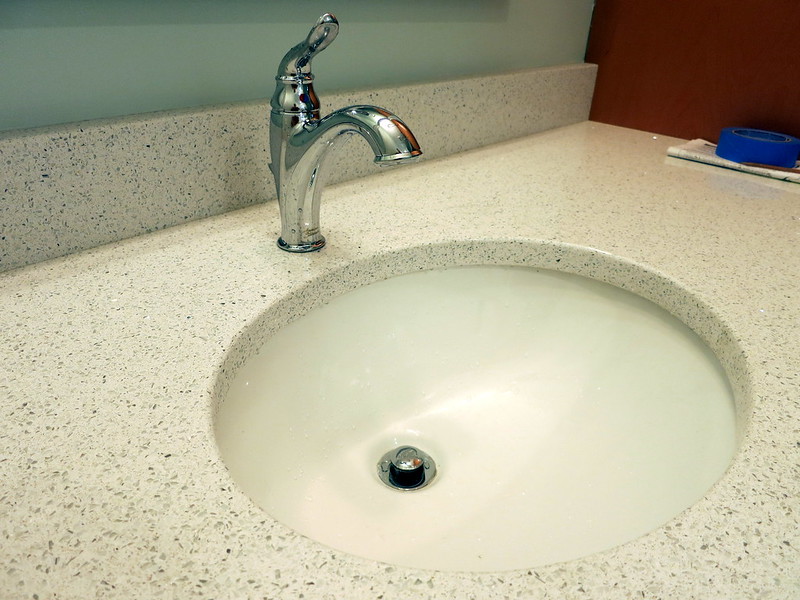
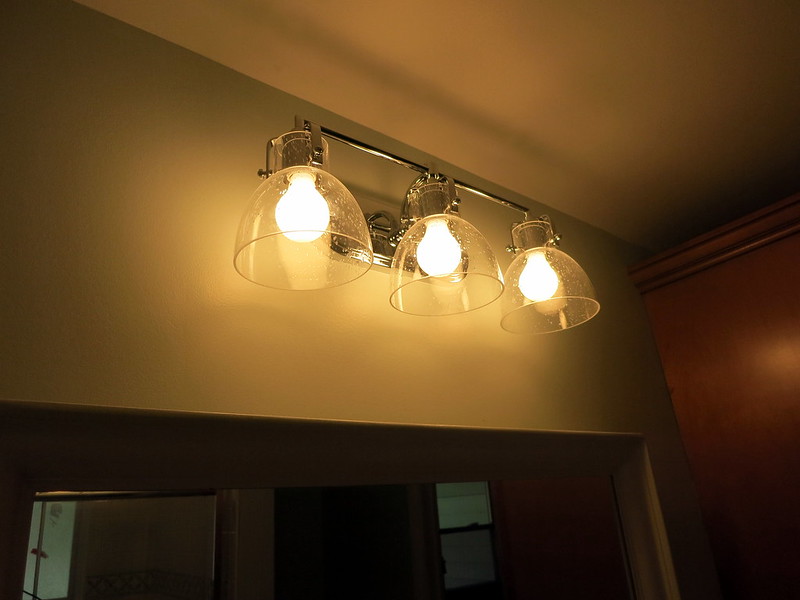
There is endless countertop for us to clutter up. The final details, the sink and the light fixture.
And that’s it! We have a beautiful new bathroom. We are all very happy with it. Now on to finishing the laundry area and playroom. (P.S. the only work we did ourselves was painting (Matt) and hanging the mirror (me)). I’ll finish up with mounting the toilet paper holder and towel rack and maybe I’ll come back and add some more pictures when I do that.
Updated!
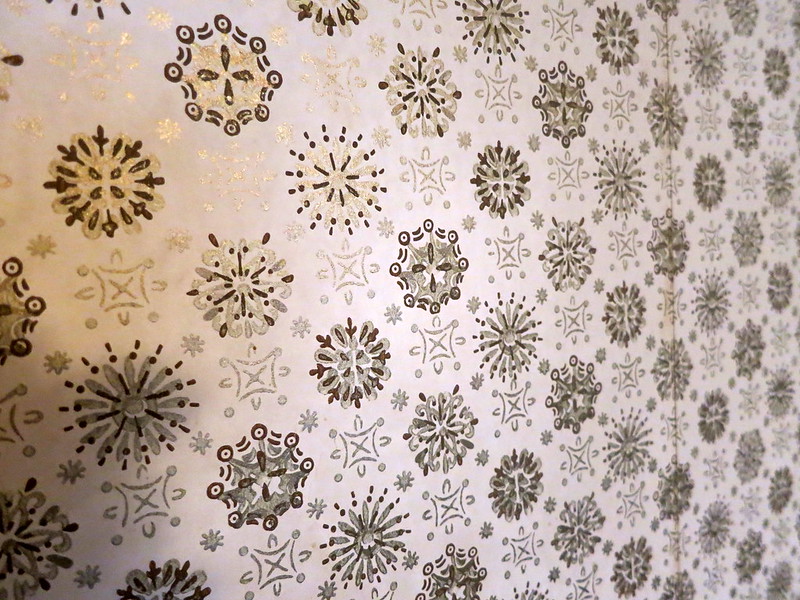
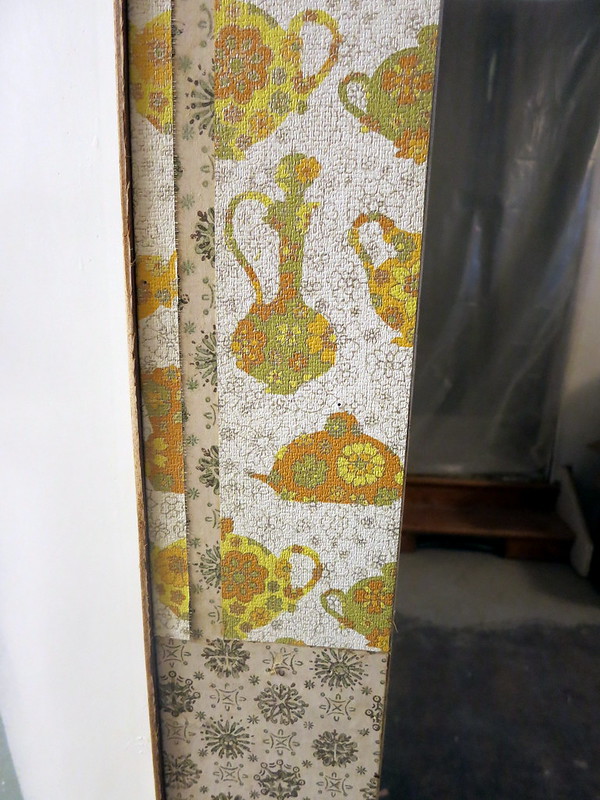
I forgot to show you the beautiful wallpaper that was under the lovely faux wood paneling in the playroom. In many places in our house the previous owners painted over wallpaper and it appears it was this wallpaper. It covers a good majority of our house. I can’t even imagine what this house looked like when it was covered in wallpaper, I so wish we had some pictures.